Windows updates are crucial for maintaining the security and performance of your system. However, at times, you may encounter issues with the update process, such as failed updates or slow performance.
One common troubleshooting step is to clear the Windows Update cache. In this blog post, we’ll guide you through the process of clearing the Windows Update cache in Windows 11.
The Windows Update service is responsible for managing updates on your system. To clear the update cache, you’ll need to stop this service temporarily. Here’s how:
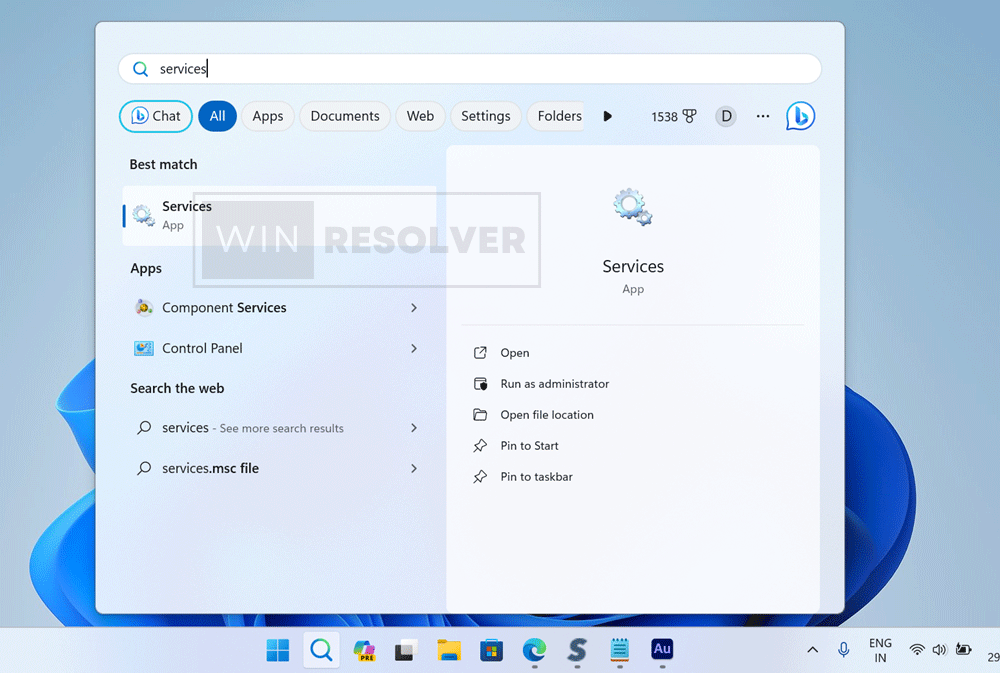
Click on the Search icon and type “services“, when the same app appears in search results, click to open it.
In the Services app, you need to locate the “Windows Update” service. Right-click on it and select “Stop” from the context menu.
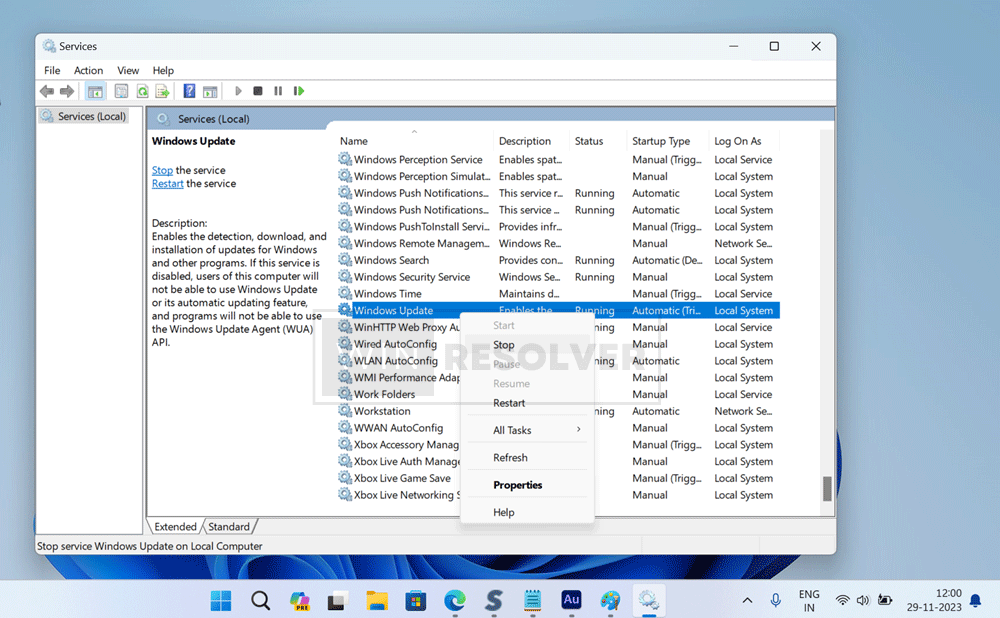
This action will halt the Windows Update service, allowing you to clear the cache without any interference.
With the Windows Update service stopped, it’s time to clear the cache. The cache is stored in a specific folder on your system. Follow these steps:
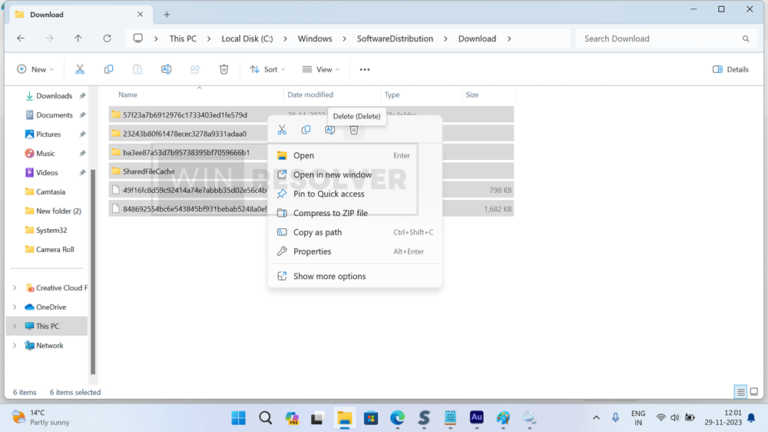
Open File Explorer by pressing Windows key + E and then navigate to the following directory: C:\Windows\SoftwareDistribution\Download.
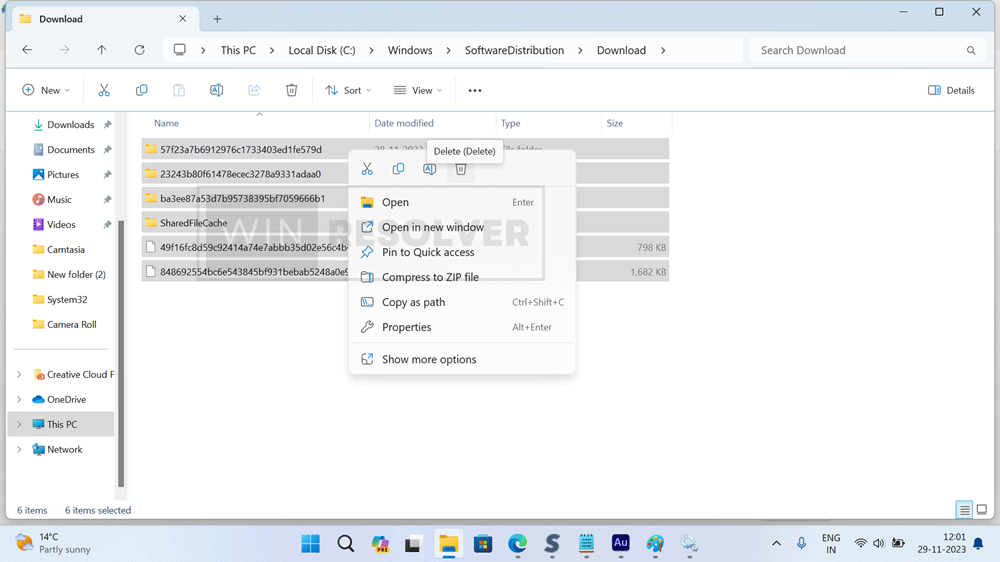
Once you’re in the “Download” folder, select all the files and folders inside it, and then press the Delete key on your keyboard. Confirm the deletion when prompted.
After clearing the cache, it’s important to restart the Windows Update service to ensure that your system can continue to receive updates.
In the Services app, you need to again locate the Windows Update service, right-click on it and select Start.
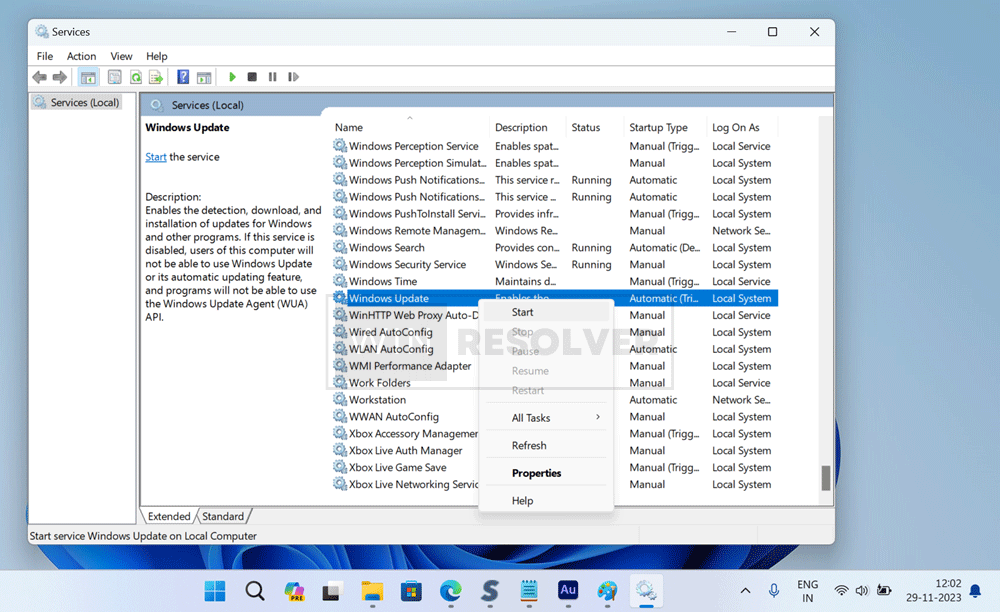
This action will restart the Windows Update service, and your system will once again be able to download and install updates.
By following the steps outlined in this guide, you easily clear the Windows Update Cache in Windows 11. If you continue to experience problems with Windows updates, consider checking for additional solutions or seeking help from Microsoft support.
