VRAM is the memory of the GPU on your computer. GPU or Graphics processing unit has its memory so that they don’t occupy RAM. The VRAM is meant for separate functions related to display and graphics. Depending on your laptop or your desktop PC, the VRAM on your PC may vary.
How to Check How much VRAM You Have in Windows
For certain reasons you may have to check how much VRAM is there on your PC. There are various ways to help you check how much VRAM you have in Windows. Let’s discuss the ways to check how much VRAM is on your PC.
Checking VRAM Using Display Settings
You can easily check how much VRAM is there on your PC using the display settings. Follow the steps given below to check the VRAM storage you have on your PC.
Press the Windows + I key combo to open up the Settings. Here, click on the Display.
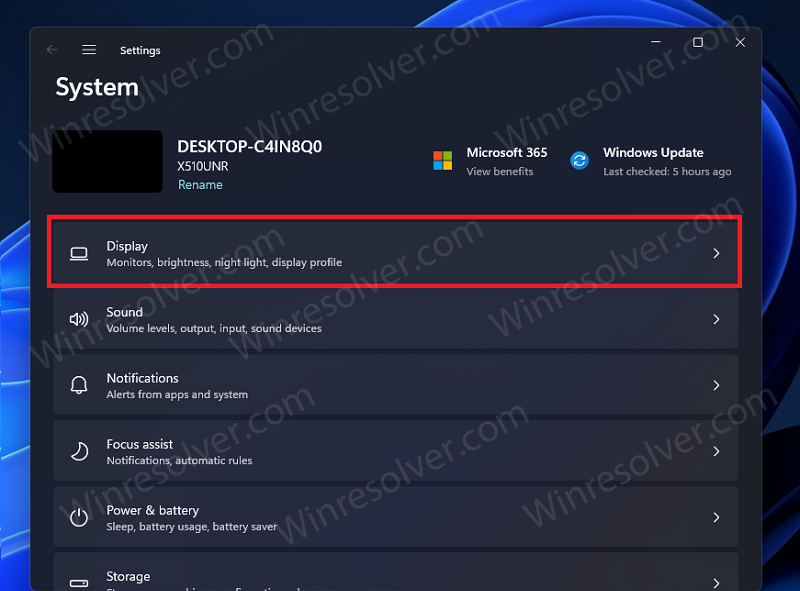
Here click on Advanced display settings. Click on the dropdown menu next to the Select a display to view or change its settings option. Select the display of which you want to check how much VRAM is there.
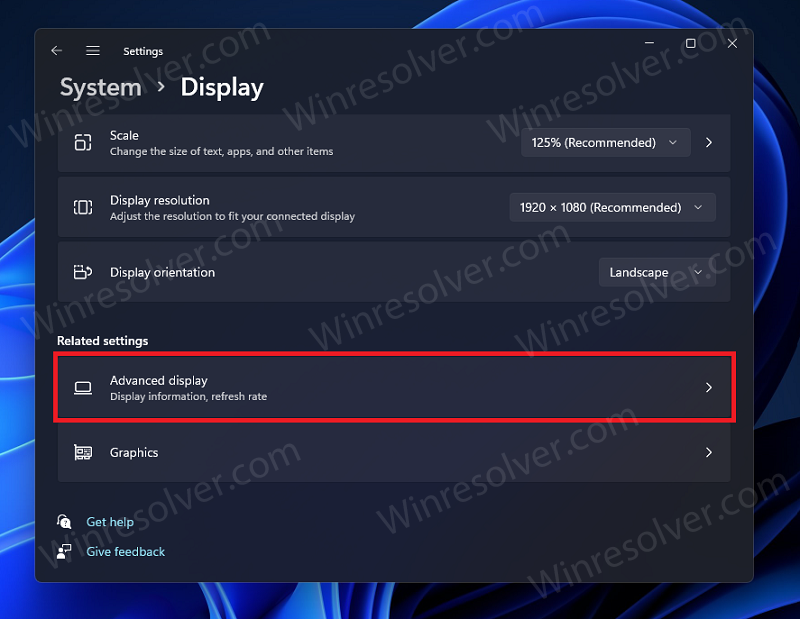
Next, hit the Display adapter properties button. This will open the graphics card/display property window.
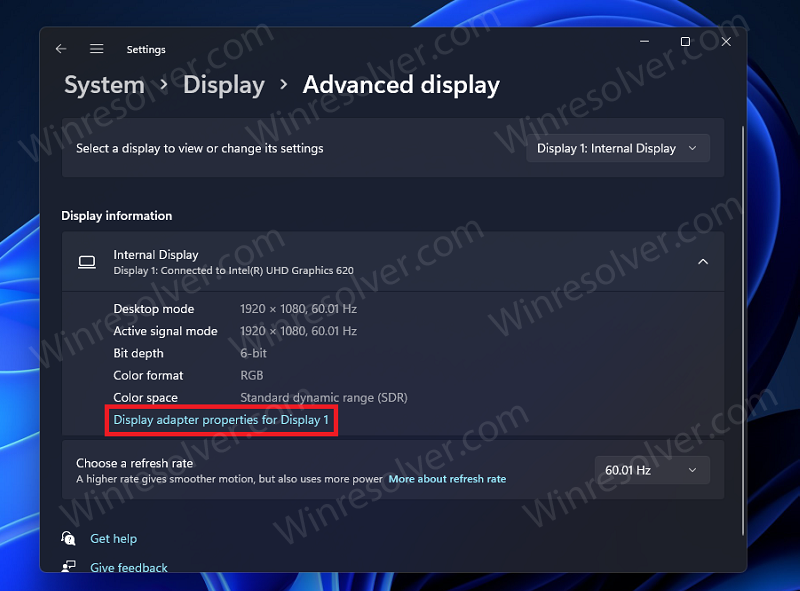
By default, you will be headed to the Adapter tab in the properties window. Here you will be able to check the dedicated video memory, system video memory, total available graphics memory, and shared system memory.
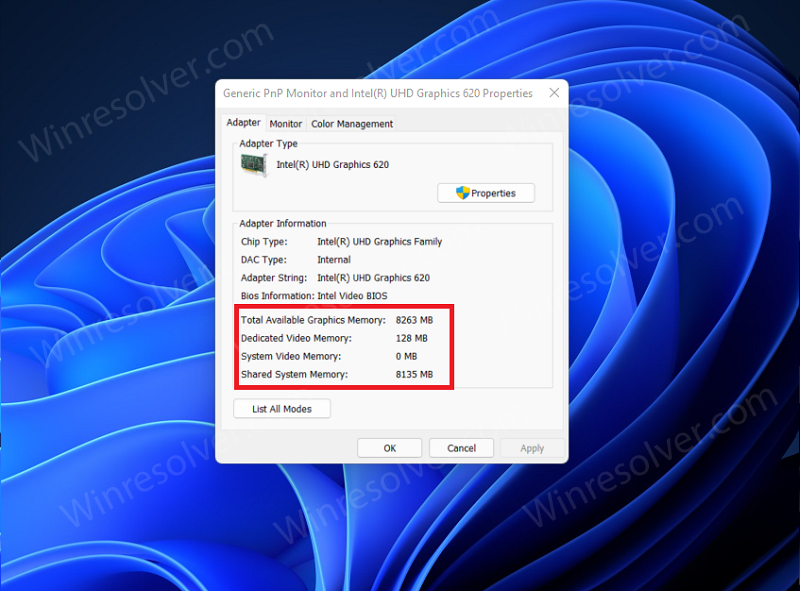
Click on OK to close the properties window, and then close the Settings app as well.
That’s how you can find out how much VRAM you have in Windows.
Checking VRAM Using Task Manager
You can also check how much VRAM you have on your PC with the help of the task manager. To use Task Manager to check VRAM on your PC, follow the steps given below-
Open the Task Manager on your PC by pressing the Ctrl + Shift + Esc key combo on your PC.
In the Task Manager, head to the Performance tab.
Now on the left side, you will find all the GPUs you have on the PC. If you have more than one GPU, they will be named GPU 0, GPU 1, and so on. Click on the GPU of which you want to check the memory.
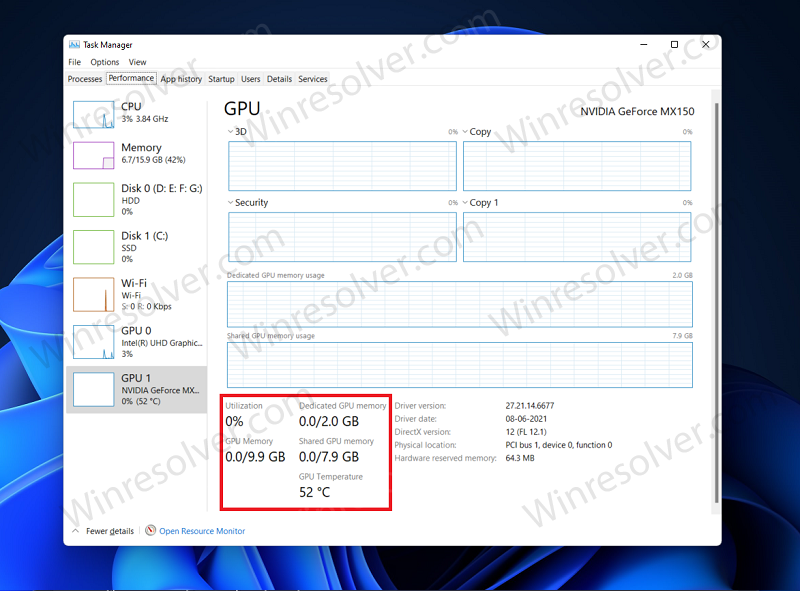
Now under the utilization graphs, you will be able to find the dedicated GPU memory, shared GPU memory, and also total GPU memory.
You can do this for all the GPUs on your PC.
Checking VRAM Using DirectX Diagnostic Tool
DirectX Diagnostic Tool or DxDiag is a tool from Microsoft which allows you to view your system information. Using this tool you can check the information related to your video card, sound card, and such.
To use DirectX Diagnostic Tool to check how much VRAM you have in Windows, follow the steps given below:
Press the Windows + R key combo on your PC to open the Run dialog box on your PC.
In the Run dialog box, type DxDiag and hit Enter or click on OK to open the DirectX Diagnostic Tool application on your PC.
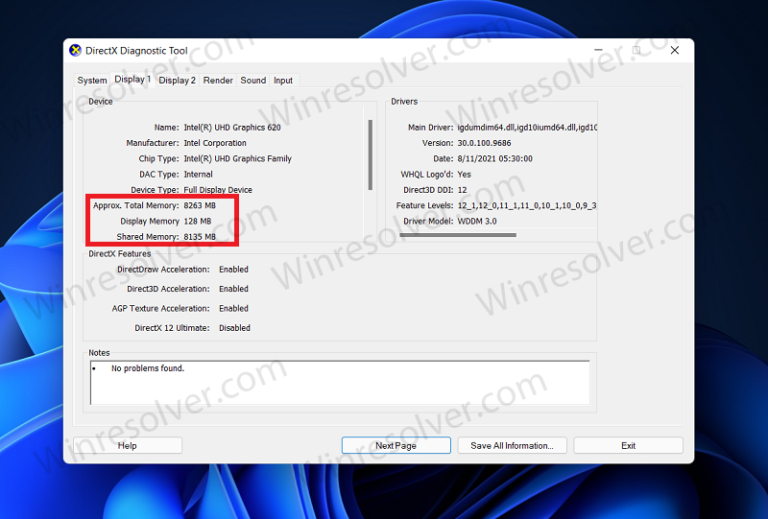
In the DirectX Diagnostic Tool application, head to the Display tab. If you are using multiple displays, then there will be tabs like Display 1, Display 2, and such. Head to the Display tab of which you want to check the VRAM memory.
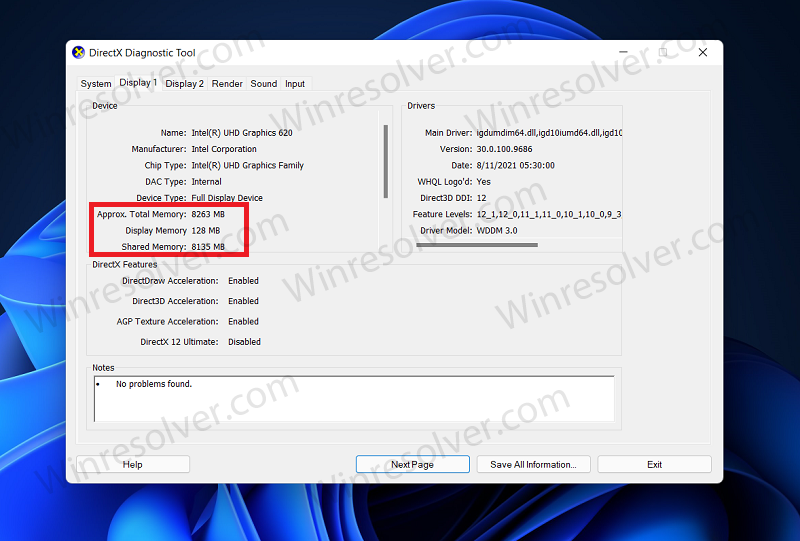
Here you will find approximate total memory, display memory, and the shared memory.
Click on Exit to exit the DirectX Diagnostic Tool once you are done checking the information you wanted to check.
Use CPU-Z To Check The Amount Of VRAM On Your PC
CPU-Z is a third-party application that allows you to check your PC’s information. Using this application you can not only check the amount of VRAM, but also various other information like amount of RAM, RAM frequency, and such.
To use CPU-Z to check how much VRAM you have in Windows, follow the steps given below-
Firstly, download the CPU-Z application on your PC. You can do so by visiting the official website of the CPU-Z. On the official website, click on the Download now button to download the application. Download and install the CPU-Z on your PC.
After installing the CPU-Z, run it on your PC. The application might take some time to analyze/detect your system configuration.
Head to the Graphics tab in the CPU-Z application.
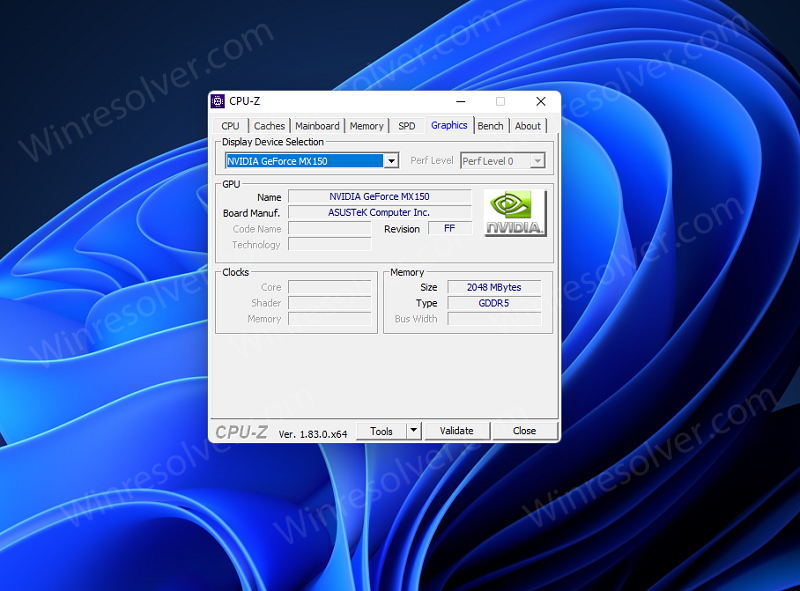
Under the Display Device Selection, select your graphics card.
Here you will find all the information about the VRAM, including the name of GPU, size, type, memory, core, and various others.
This will let you know how much VRAM you have in Windows. These were some ways to help you find the amount of VRAM on your PC. Following the above methods, you will be able to get all the information related to VRAM on your system.
